Let There Be (Lower Level) Light, Part 2
After installing the first segments of the low profile fluorescent lighting fixtures
on portions of the lower level of the railroad, I decided to finish the lighting project
during the month of June. With Cherie's assistance, I installed the remaining
fixtures on the lower level. There are seven lights from the south portal of
Hanging Rock Tunnel to SN Cabin, nine lights from SN Cabin to Roanoke Junction,
and seven fixtures from Roanoke Junction to SE Cabin. With many seemingly higher
priority projects always competing for my time, I simply had not installed these
fixtures, but I wish I had done so sooner as the difference in the lighting
levels on the lower level of the railroad is incredible. (See the
04/11/2006 Progress Report for information about the
installation of the first set of lights on the lower level.)
Tunnel Portals
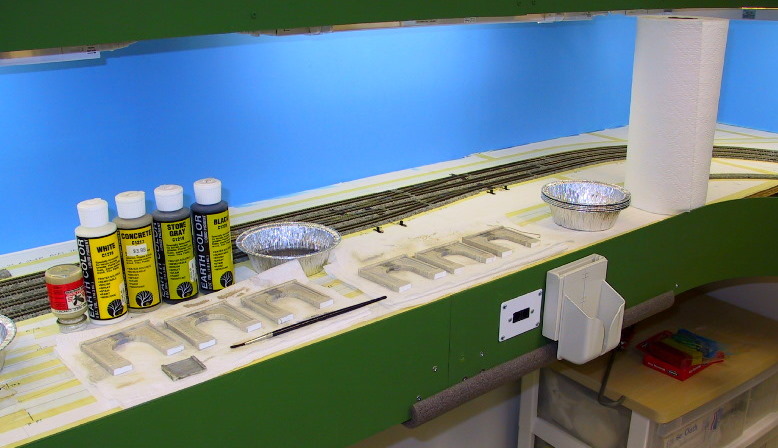
Recently, I started working on preparing some tunnel portals so I could
install them on the layout when I'm in the mood to start scenery on the new
portions of the layout. I use the Woodland Scenics cast plaster tunnel portals.
After cleaning the flash from the plaster castings, I modify the tunnel portals
by placing them on a pair of blocks of 0.250" x 0.250" styrene in order to clear
double stack cars with high-cube containers. I then use various Woodland Scenics
pigments to color the portals.
Note: The work shown in this progress report was accomplished during the
late May/early June 2006 timeframe. The pictures were taken on June 18, 2006,
but I'm just now getting around to posting this update.
|
|
Photos of Progress as of June 18, 2006 |
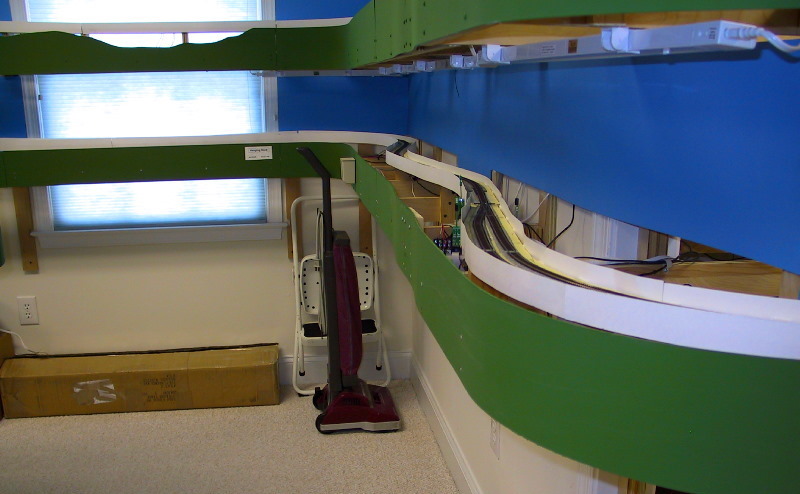
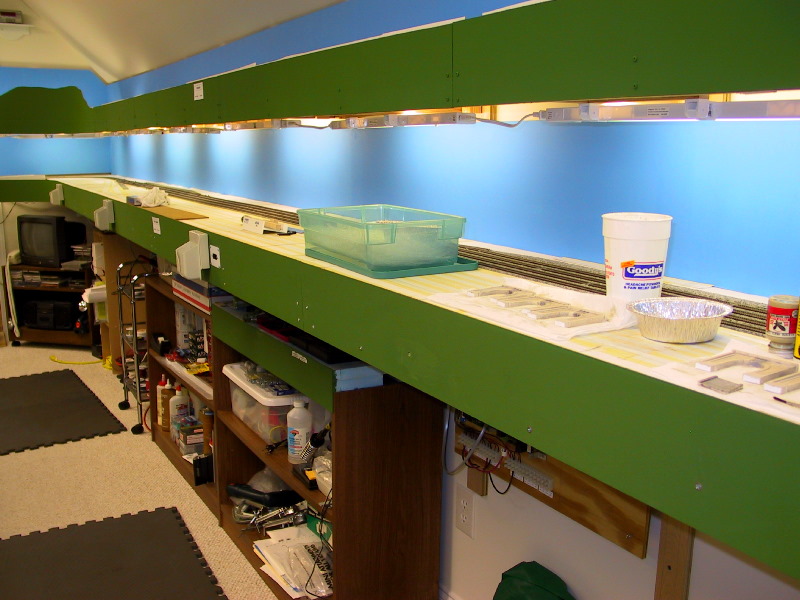
Overall view of the MC Cabin/Hanging Rock peninsula showing the new light
fixtures after Cherie and I installed them but with the lights off.
|
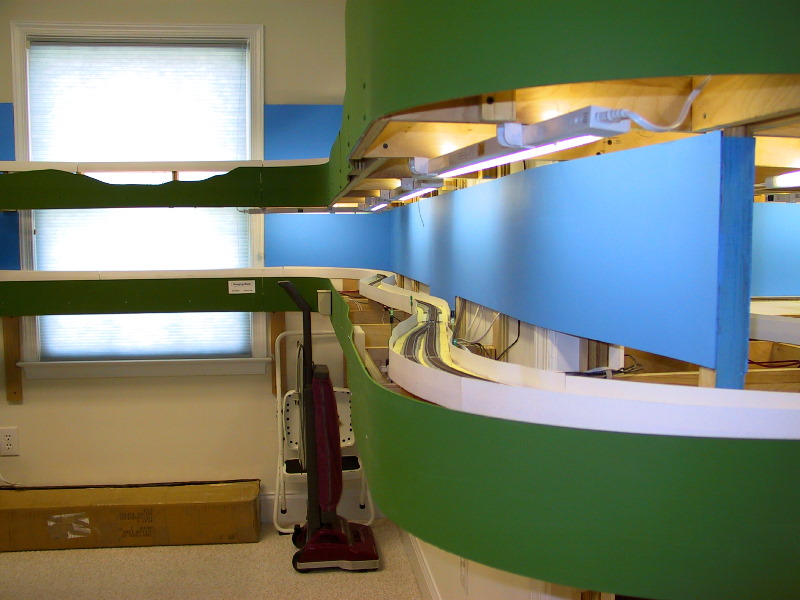
MC Cabin and Hanging Rock with the new lights turned on.
|
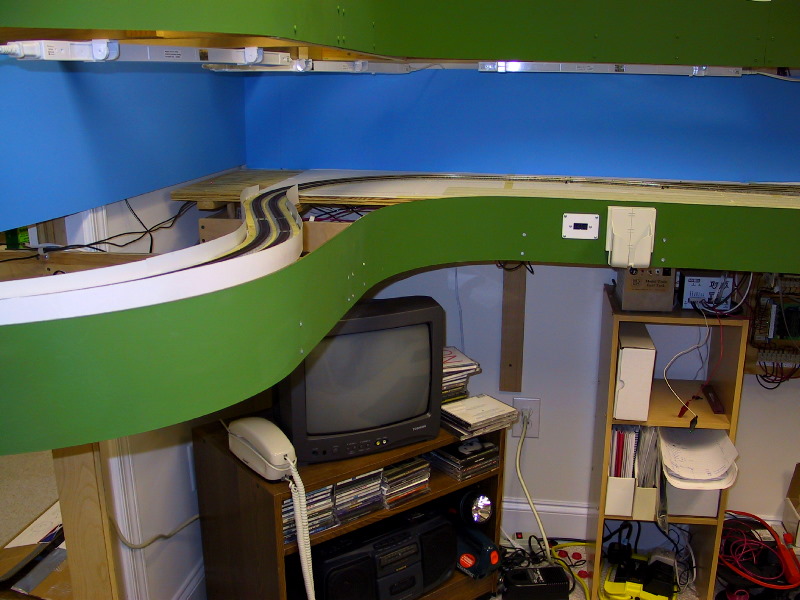
Here's the other side of the MC Cabin peninsula where the mainline
approaches SN Cabin (directly above the Loconet port in the fascia) showing
the lights turned off.
|
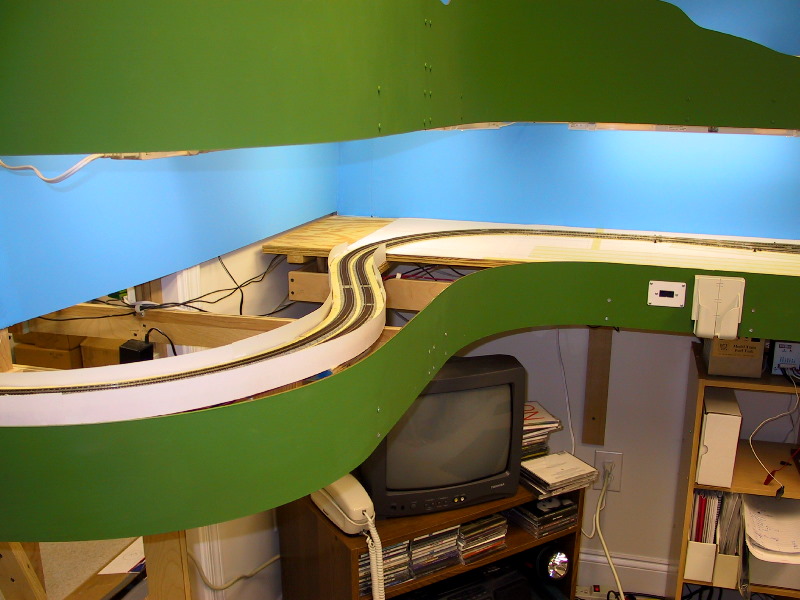
Here's a view of the SN Cabin area with the lights turned on.
|

Here's an overall view of the North Salem/Salem aisle looking towards
Roanoke Junction showing the newly installed lower level lighting.
|
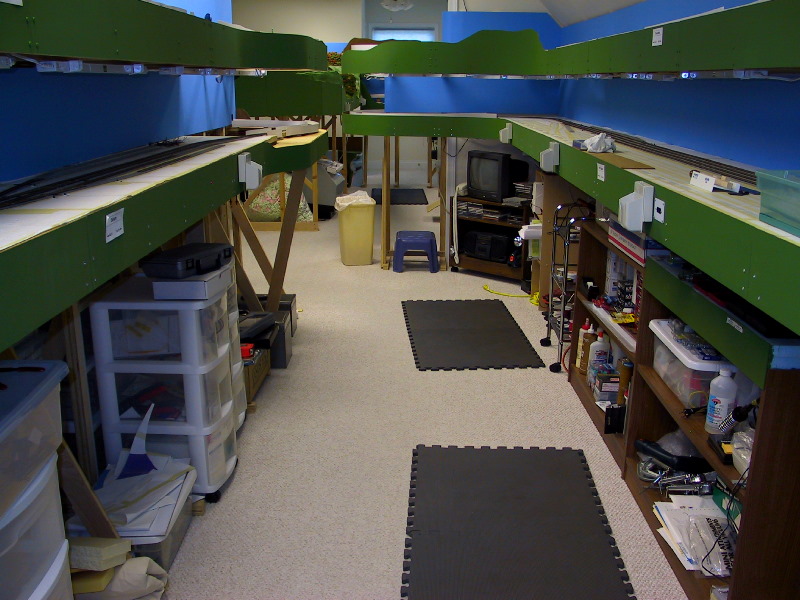
Here's an overall view of the North Salem/Salem aisle looking towards MC
Cabin showing the newly installed lower level lighting with the lights
turned off.
|
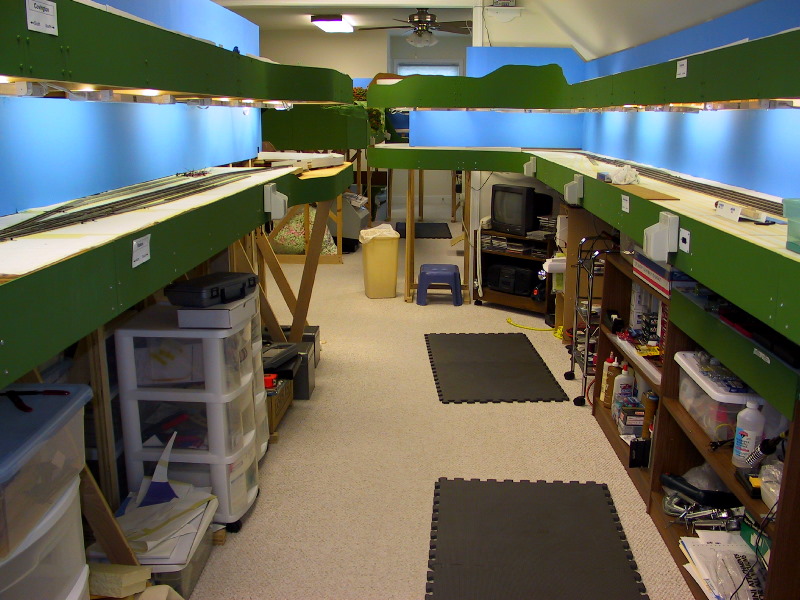
Here's an overall view of the North Salem/Salem aisle looking towards MC
Cabin showing the newly installed lower level lighting with the lights
turned on. The additional lighting makes a big difference in this area since
there are large areas of plywood subroadbed on the upper level supporting
Covington (on the left) and Carpenter (on the right).
|
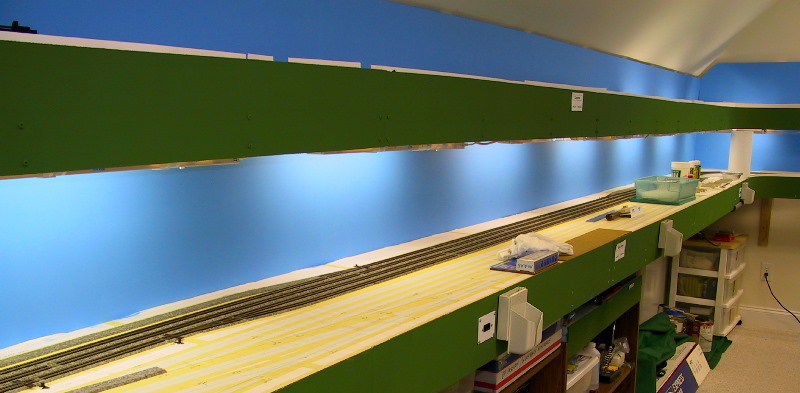
Overall view of North Salem, Va. (looking southward towards SX Cabin) showing the new light fixtures turned
on.
|
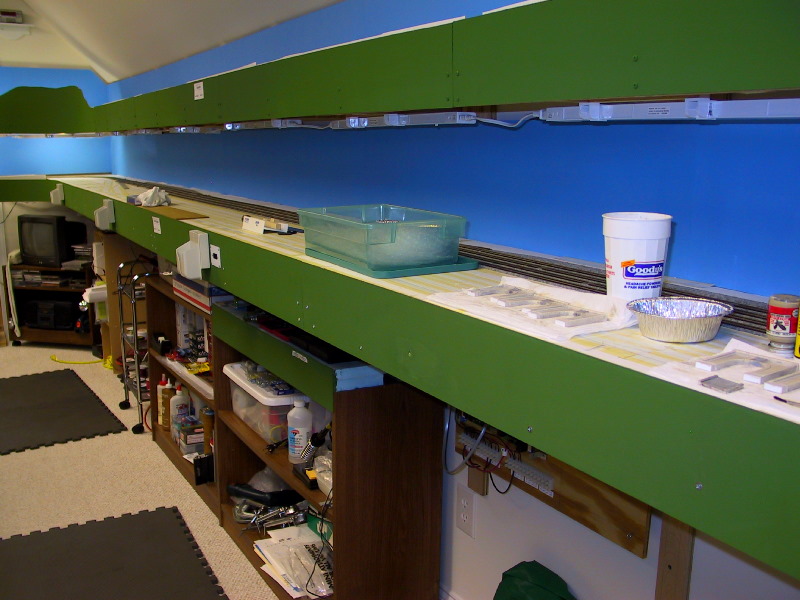
Overall view of North Salem, Va. (looking northward towards SN Cabin) showing the new light fixtures turned
off.
|
Overall view of North Salem, Va. (looking northward towards SN Cabin) showing the new light fixtures turned
on.
|
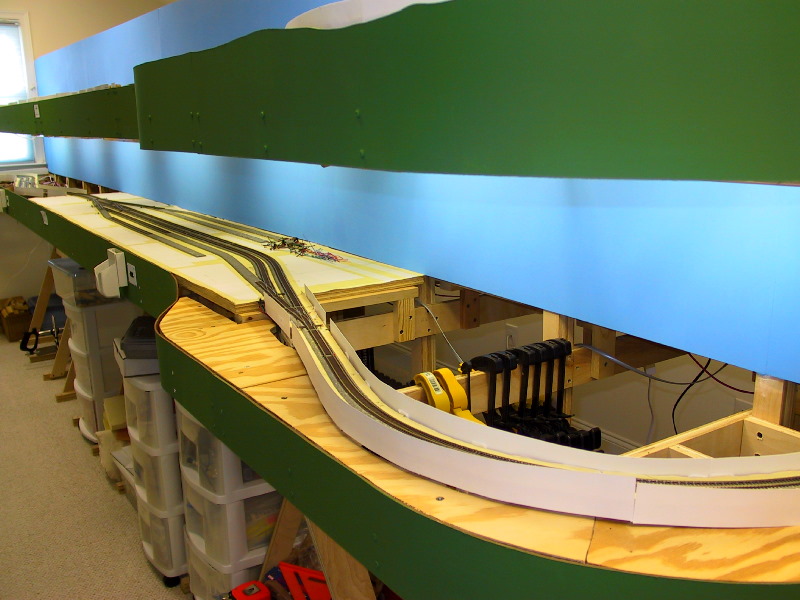
Overall view of Salem, Va. (looking northward towards Roanoke Junction) showing the new light fixtures turned
on.
|
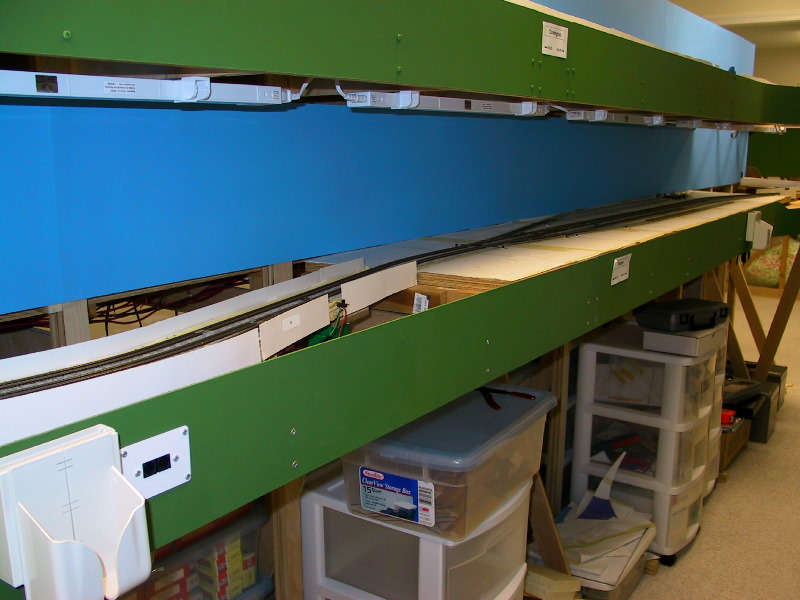
Overall view of Salem, Va. (looking southward) showing the new light fixtures turned
off.
|
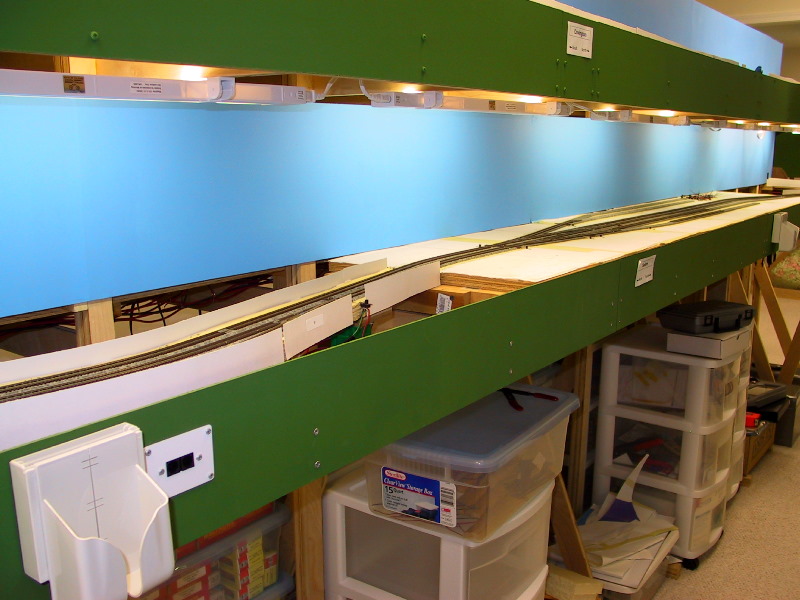
Overall view of Salem, Va. (looking southward) showing the new light fixtures turned
on.
|
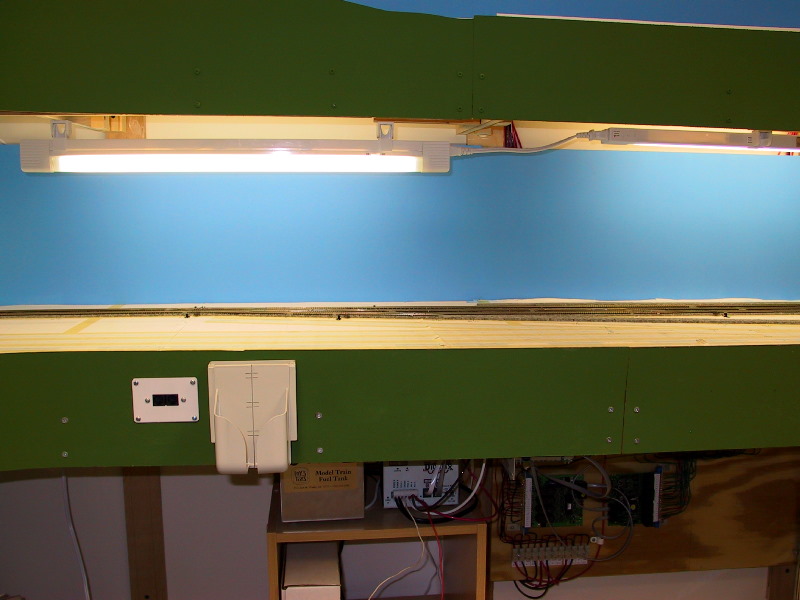
In this view the light on the left above SN Cabin has been rotated
downward 90 degrees to show the brackets supporting the fixture. The light
fixture on the right is in the "normal" position on the Shenandoah Division
with the bulb facing towards the backdrop.
|
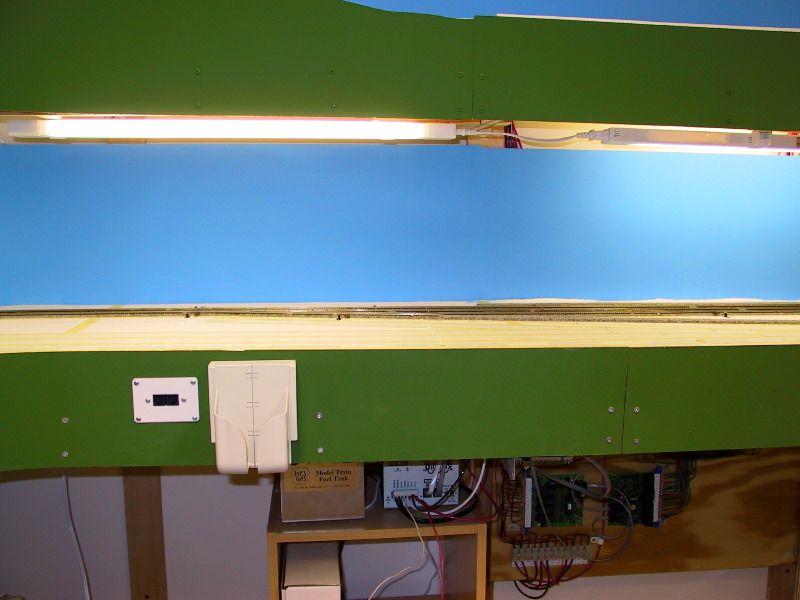
The light fixture has now been rotated the remaining 90 degrees with the
bulb facing the front of the layout rather than the backdrop.
|
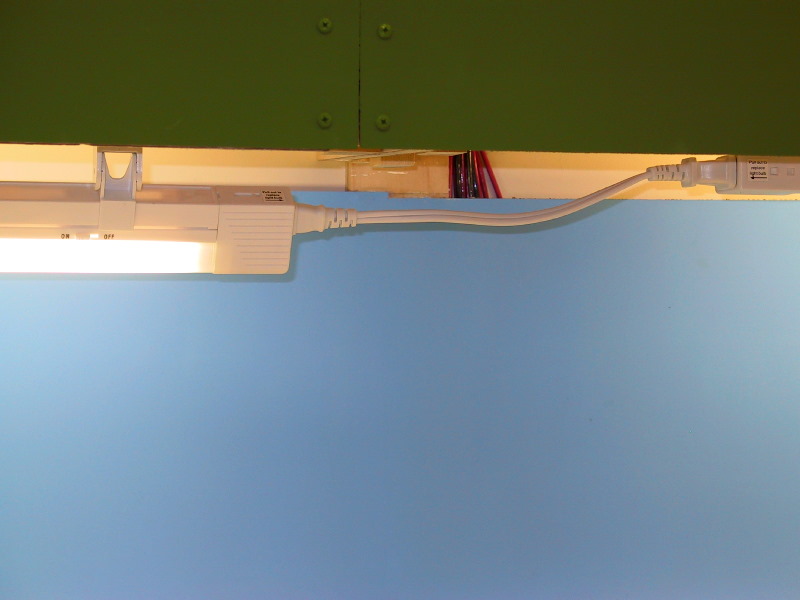
Here's a close-up view of the linkable fixtures showing the cables
connecting them, as well as the swivel bracket which holds the fixture. The
mounting bracket allows the light fixture to be rotated 180 degrees. (The
wires running behind the backdrop are the 12 gauge DCC power district wires
and are unrelated to the lighting system.)
|
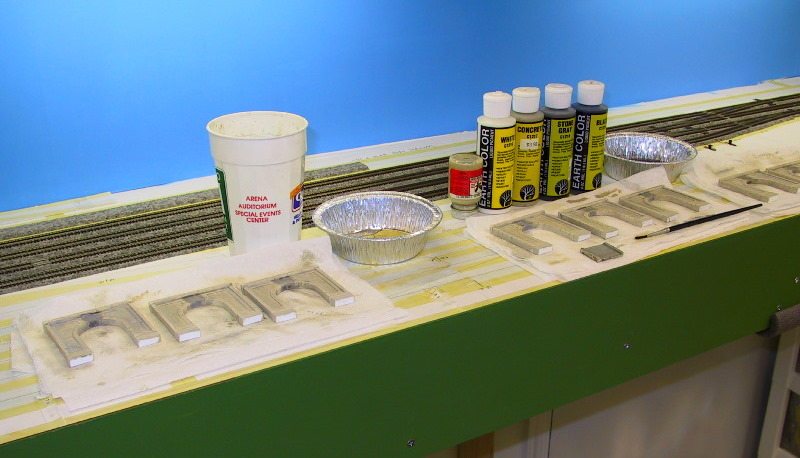
Here's some of the Woodland Scenics cast plaster tunnel portals in
various stages of coloring.
|
A view showing the remaining tunnel portals. Initial coloring is complete
on these portals, with final weathering to be added after installation.
|
This page was last updated on
01/01/11.